1 Purpose and Functions
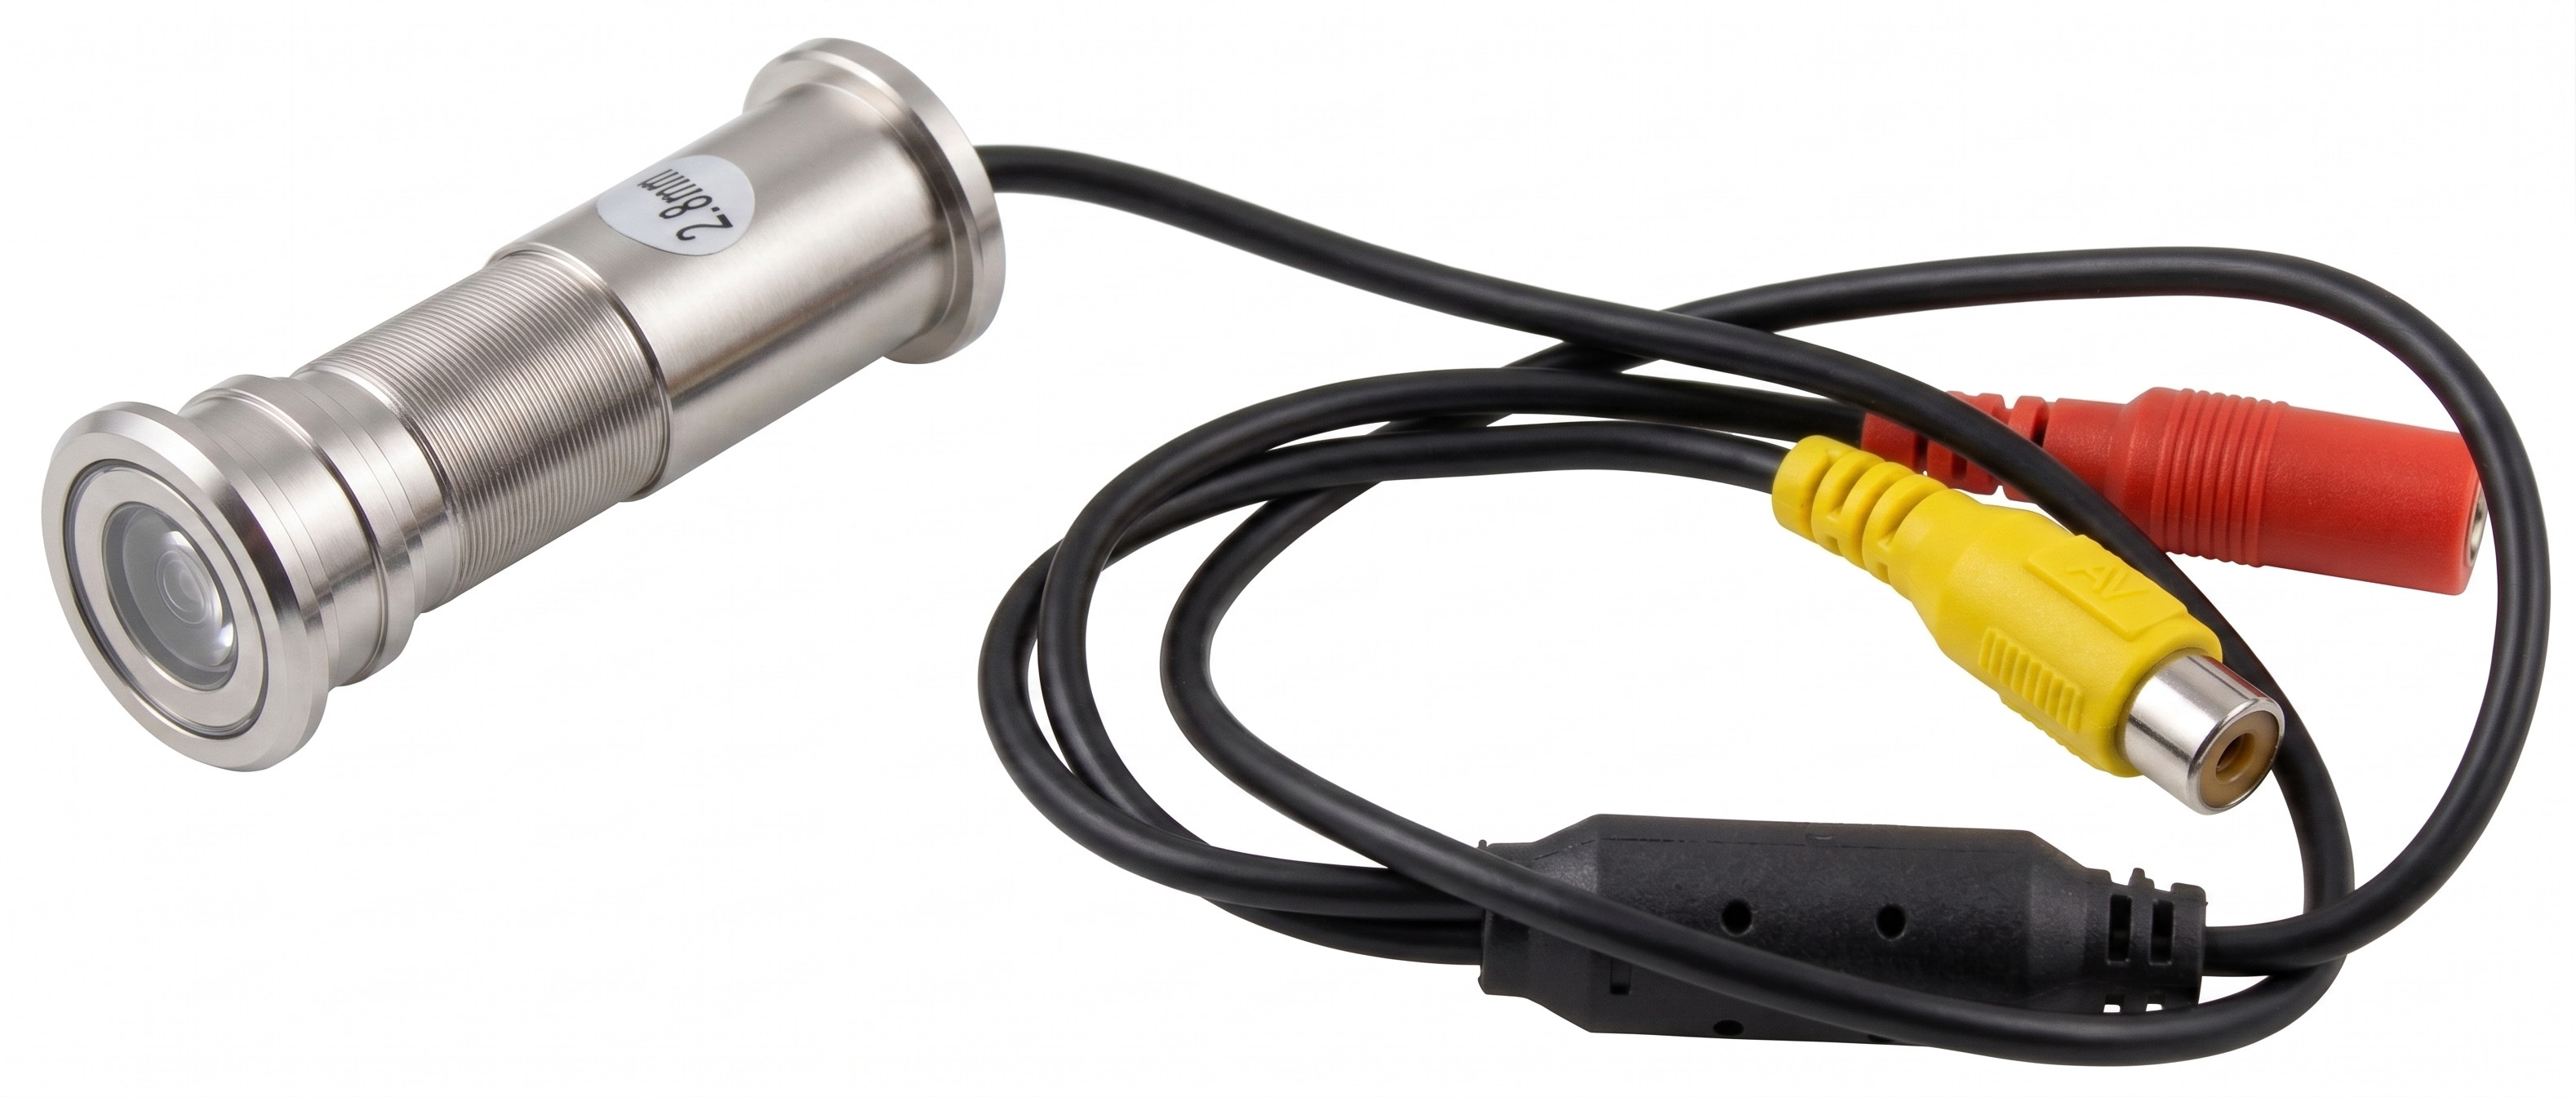
The ACTii AC4645 CCTV camera is a professional surveillance device designed for discreet installation in door apertures as a replacement for a standard door viewer (peephole). Using an advanced 1/3 CMOS 550TVL sensor, the camera allows for identification of persons in front of the entrance while maintaining complete discretion – from the outside, the device is indistinguishable from an ordinary optical viewer.
The device features a very wide 115° viewing angle, eliminating "blind spots" in front of the door. A solid aluminum housing and double tempered glass ensure resistance to vandalism and adverse weather conditions when correctly installed in the door leaf.
Main features:
- ✔ High-class 1/3 CMOS sensor providing a clear image
- ✔ Construction dedicated for installation in place of a standard viewer
- ✔ 2.1mm focal length lens with a wide 115° viewing angle
- ✔ Adjustable housing length in the 37-56mm range allowing for adjustment to various door thicknesses
- ✔ Solid, vandal-resistant aluminum housing
- ✔ Full discretion - appearance identical to a standard optical viewer
Application and system compatibility:
The camera generates an analog video signal in the PAL standard, which enables direct connection to a television (via video/RCA input), CCTV monitor, DVR, or VCR. It is an ideal solution for private homes, apartments, and offices where constant monitoring of the entrance area is required.
2 Technical Specification
| Camera type | PAL |
| Sensor | 1/3 CMOS |
| Sensor resolution | 550TVL |
| Image parameters | Signal to noise ratio (S/N): > 46dB; Scanning system: Progressive; Electronic Shutter: 1/60 to 1/15000; Automatic Gain Control (AGC): AUTO; Sensitivity: 0.1LUX |
| Lens | Focal length: 2.1mm; Viewing angle: 115°; Aperture: F 1.4; Focus adjustment: Yes, manual; Lens mount: board cameras |
| Housing | Aluminum, silver color, vandal-resistant, dust-proof, double tempered glass, operating temp: -30°C - +55°C |
| Output parameters | Video output: Cinch Plug; Output video signal: PAL/NTSC |
| Power supply | DC 12V 500mA; 2.1mm/5.5mm socket; Power consumption: 3W |
| Mounting dimensions | Length adjustment: 37-56mm; Minimum hole diameter: 18mm; Cable length: 55cm |
| Dimensions and weight | Product: 42x25x25mm, 200g; With packaging: 284g |
| Certificates | CE, ROHS |
3 Installation and Assembly
Hole preparation:
Before proceeding with installation, ensure that the hole in the door has a diameter of at least 18mm. If there is already a standard viewer in the door, unscrew it.
Installation steps:
- Unscrew the camera housing, adjusting its length to the thickness of the door leaf (adjustment range 37-56mm).
- Insert the front part of the camera (with the lens) from the outside of the door.
- From the inside, apply the rear part of the housing and screw both parts together until the camera is stably seated in the door.
- Focus adjustment: If necessary, the focus can be adjusted manually by gently rotating the lens ring (accessible after unscrewing the housing).
Electrical connection:
- Video: Connect the yellow Cinch (RCA) plug to the video input on a monitor, television, or recorder.
- Power supply: Connect a DC 12V (min. 500mA) power supply to the 2.1mm/5.5mm power socket. Pay attention to the polarity (positive inside).
4 Safety Instructions
Important safety rules:
- The device must be powered exclusively by a stabilized 12V DC voltage. Using higher voltage will permanently damage the camera.
- Signal and power cables should be routed in a way that prevents them from being pinched when opening and closing the door (the use of flexible cable transition guards is recommended).
- Do not perform repairs yourself. Opening the electronics housing will void the warranty.
- The camera is weather-resistant after installation, but the connectors (Cinch and power) must be protected against direct contact with moisture on the inside of the door.
- Before cleaning the external lens, disconnect the power. Use only soft microfiber cloths for cleaning to avoid scratching the tempered glass.
5 Troubleshooting
No image on the monitor:
Check the correctness of the power supply connection and whether it provides 12V voltage. Ensure that the video plug is correctly seated in the monitor/recorder socket and the appropriate input channel is selected.
Image is out of focus:
Check if the external lens is dirty. If the image is still unclear, perform a manual focus adjustment by rotating the camera lens.
Image is black and white or flickering:
Ensure that the display system (monitor/recorder) supports the PAL standard. Check if the power supply has sufficient current capacity (min. 500mA).