1 Purpose and Functions
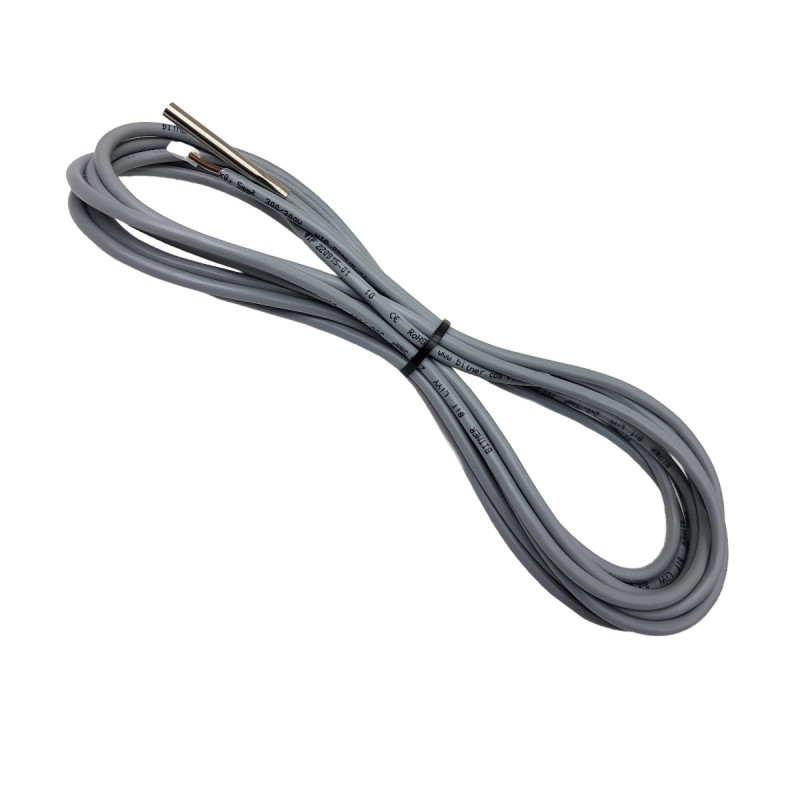
The sensor is designed for precise temperature measurement in heating and cooling systems. It ensures reliable operation and easy integration with heat pumps.
Main features:
- ✔ Wide probe measurement range (-40°C to +400°C)
- ✔ Top-class IP68 protection (silicone seal)
- ✔ Durable Stainless Steel housing
- ✔ High-quality insulated copper control cable
- ✔ Completely maintenance-free after proper installation
Operating principle:
The sensor continuously monitors the ambient or medium temperature, and the heat pump control system automatically reads the values from it. Thanks to precise data, the heating system can optimally manage heat production, protecting the installation and ensuring maximum thermal comfort for users.
2 Technical Specification
| Probe measurement range | from -40°C to +400°C |
| Cable operating temperature | from -40°C to +80°C (fixed installation) |
| Protection class | IP68 |
| Probe housing material | Stainless Steel |
| Cable type | Copper control cable |
| Moisture protection | Internal silicone seal |
| Main application | Heat pumps (DHW, buffer, outdoor) |
| Power requirement during installation | Completely disconnected |
| Minimum bending radius | 4 times the cable diameter |
| Interference immunity | Distance from 230V/400V cables required |
| Daily operation | Maintenance-free device |
3 Installation and Configuration
General rules and connection:
Before commencing any work, ensure the heat pump power supply is completely disconnected. Route the cable to the control unit and plug it into the appropriate socket on the device mainboard (according to the electrical diagram).
Probe positioning:
The device allows for various mounting options depending on installation needs:
- Tank mounting (DHW/Buffer): Insert the metal sensor sleeve all the way into the dedicated well (measuring pocket). It is recommended to use thermal conductive paste for better readings.
- Pipe or outdoor mounting: Place the probe flat against the pipe, secure with a tie, and thermally insulate, or install in a place protected from sun and rain (as an outdoor sensor).
Connection to the mainboard should always be performed by a qualified installer with appropriate certifications.
4 Connection Diagrams and Safety
To ensure maximum safety and durability of the device, strictly follow the rules regarding cable routing and mechanical handling of the sensor during installation.
Cable routing
Rules to prevent interference and signal cable damage.
- Avoid running the cable parallel to 230V/400V cables.
- Do not bend the cable at a right angle anywhere.
- Maintain the minimum bending radius (4 times the diameter).
Mechanical probe protection
Precautions to prevent physical damage to the sensor.
- Never pull the cable to remove the probe from the pocket.
- Pulling can damage the internal silicone seal.
- Damage results in sensor failure due to moisture ingress.
⚠️ SAFETY NOTICE
Never shorten or extend the cable without express recommendation from the device manufacturer. Such modifications may permanently change circuit resistance, which will falsify temperature readings and disrupt the operation of the entire heat pump.
5 Set Contents
- 1x Temperature sensor with copper cable
- 1x Integrated Stainless Steel housing
- 1x Connection plug (depending on model)